Getting started
Once the device is running NETCONF or RESTCONF, there are five steps to get from a fresh install to a request running against it: add the device, download the schemas it publishes, group them into a set, explore that set, and send a request.
Preparing the device
Before YANG Studio can talk to anything, the device has to be running the services and willing to authorise them. On IOS-XE that is three pieces: AAA, the NETCONF service, and the RESTCONF service. The whole thing is ten lines, and this is a working configuration taken from a live router:
conf t

 ! Both protocols authenticate through AAA. Without exec
 ! authorisation, NETCONF sessions open and are then dropped.
 aaa new-model
 aaa authentication login default local
 aaa authorization exec default local

 ! NETCONF — listens on port 830 over SSH.
 netconf-yang

 ! Optional, and worth having: adds a candidate datastore, so
 ! changes can be staged and committed as one transaction.
 netconf-yang feature candidate-datastore

 ! RESTCONF — needs the HTTPS server; it will not run over HTTP.
 ip http secure-server
 ip http authentication local
 no ip http server
 restconf

end
write memory
Apply the three AAA lines together. aaa new-model
on its own changes how every login is authenticated, and without the
aaa authentication login default local line alongside it
you can lock yourself out of SSH. All three together preserve the
behaviour of a device using local accounts.
If you are working on something you cannot easily get back to,
reload in 5 before you start is cheap insurance — the
device reboots into its saved configuration if you lose access.
What each part is for
| Line | Why |
|---|---|
aaa new-modelaaa authentication login default localaaa authorization exec default local |
Both protocols authorise through AAA. Exec authorisation is the part people miss: without it the SSH login succeeds, the NETCONF subsystem starts, and the device then closes the session without a hello. It looks like a password problem and is not one. |
netconf-yang |
Starts NETCONF on port 830. This is the only line strictly required for it. |
netconf-yang feature candidate-datastore |
Adds the candidate datastore. Worth enabling — it is what lets a change be staged, validated and committed as one transaction. Note that it also stops the device accepting writes directly to running. |
ip http secure-server |
RESTCONF runs over HTTPS on port 443 and will not start without it. |
ip http authentication local |
Authenticate HTTPS against the local user database. |
no ip http server |
Turns plain HTTP off, so credentials are never sent unencrypted. Not required, but there is no reason to leave it on. |
restconf |
Starts RESTCONF itself. |
Checking it worked
Two commands tell you whether the device is ready, before you go anywhere near the app:
show netconf-yang status
netconf-yang: enabled
netconf-yang ssh port: 830
netconf-yang candidate-datastore: enabled
show platform software yang-management process
confd            : Running
nesd             : Running
syncfd           : Running
ncsshd           : Running     <- NETCONF over SSH
dmiauthd         : Running     <- authorises sessions; needs AAA
nginx            : Running     <- serves RESTCONF
ndbmand          : Running
pubd             : Running
If dmiauthd is not running, AAA is the thing to look at.
If nginx is not running, RESTCONF has no web server. The
account you connect with also needs privilege 15.
These commands are IOS-XE, and were taken from a working router rather than from documentation. Other platforms enable the same two protocols with their own syntax — check your vendor's guide for those. Everything else in this documentation applies either way, since the models and the protocols are the same; only the lines that turn them on differ.
Add the device and connect
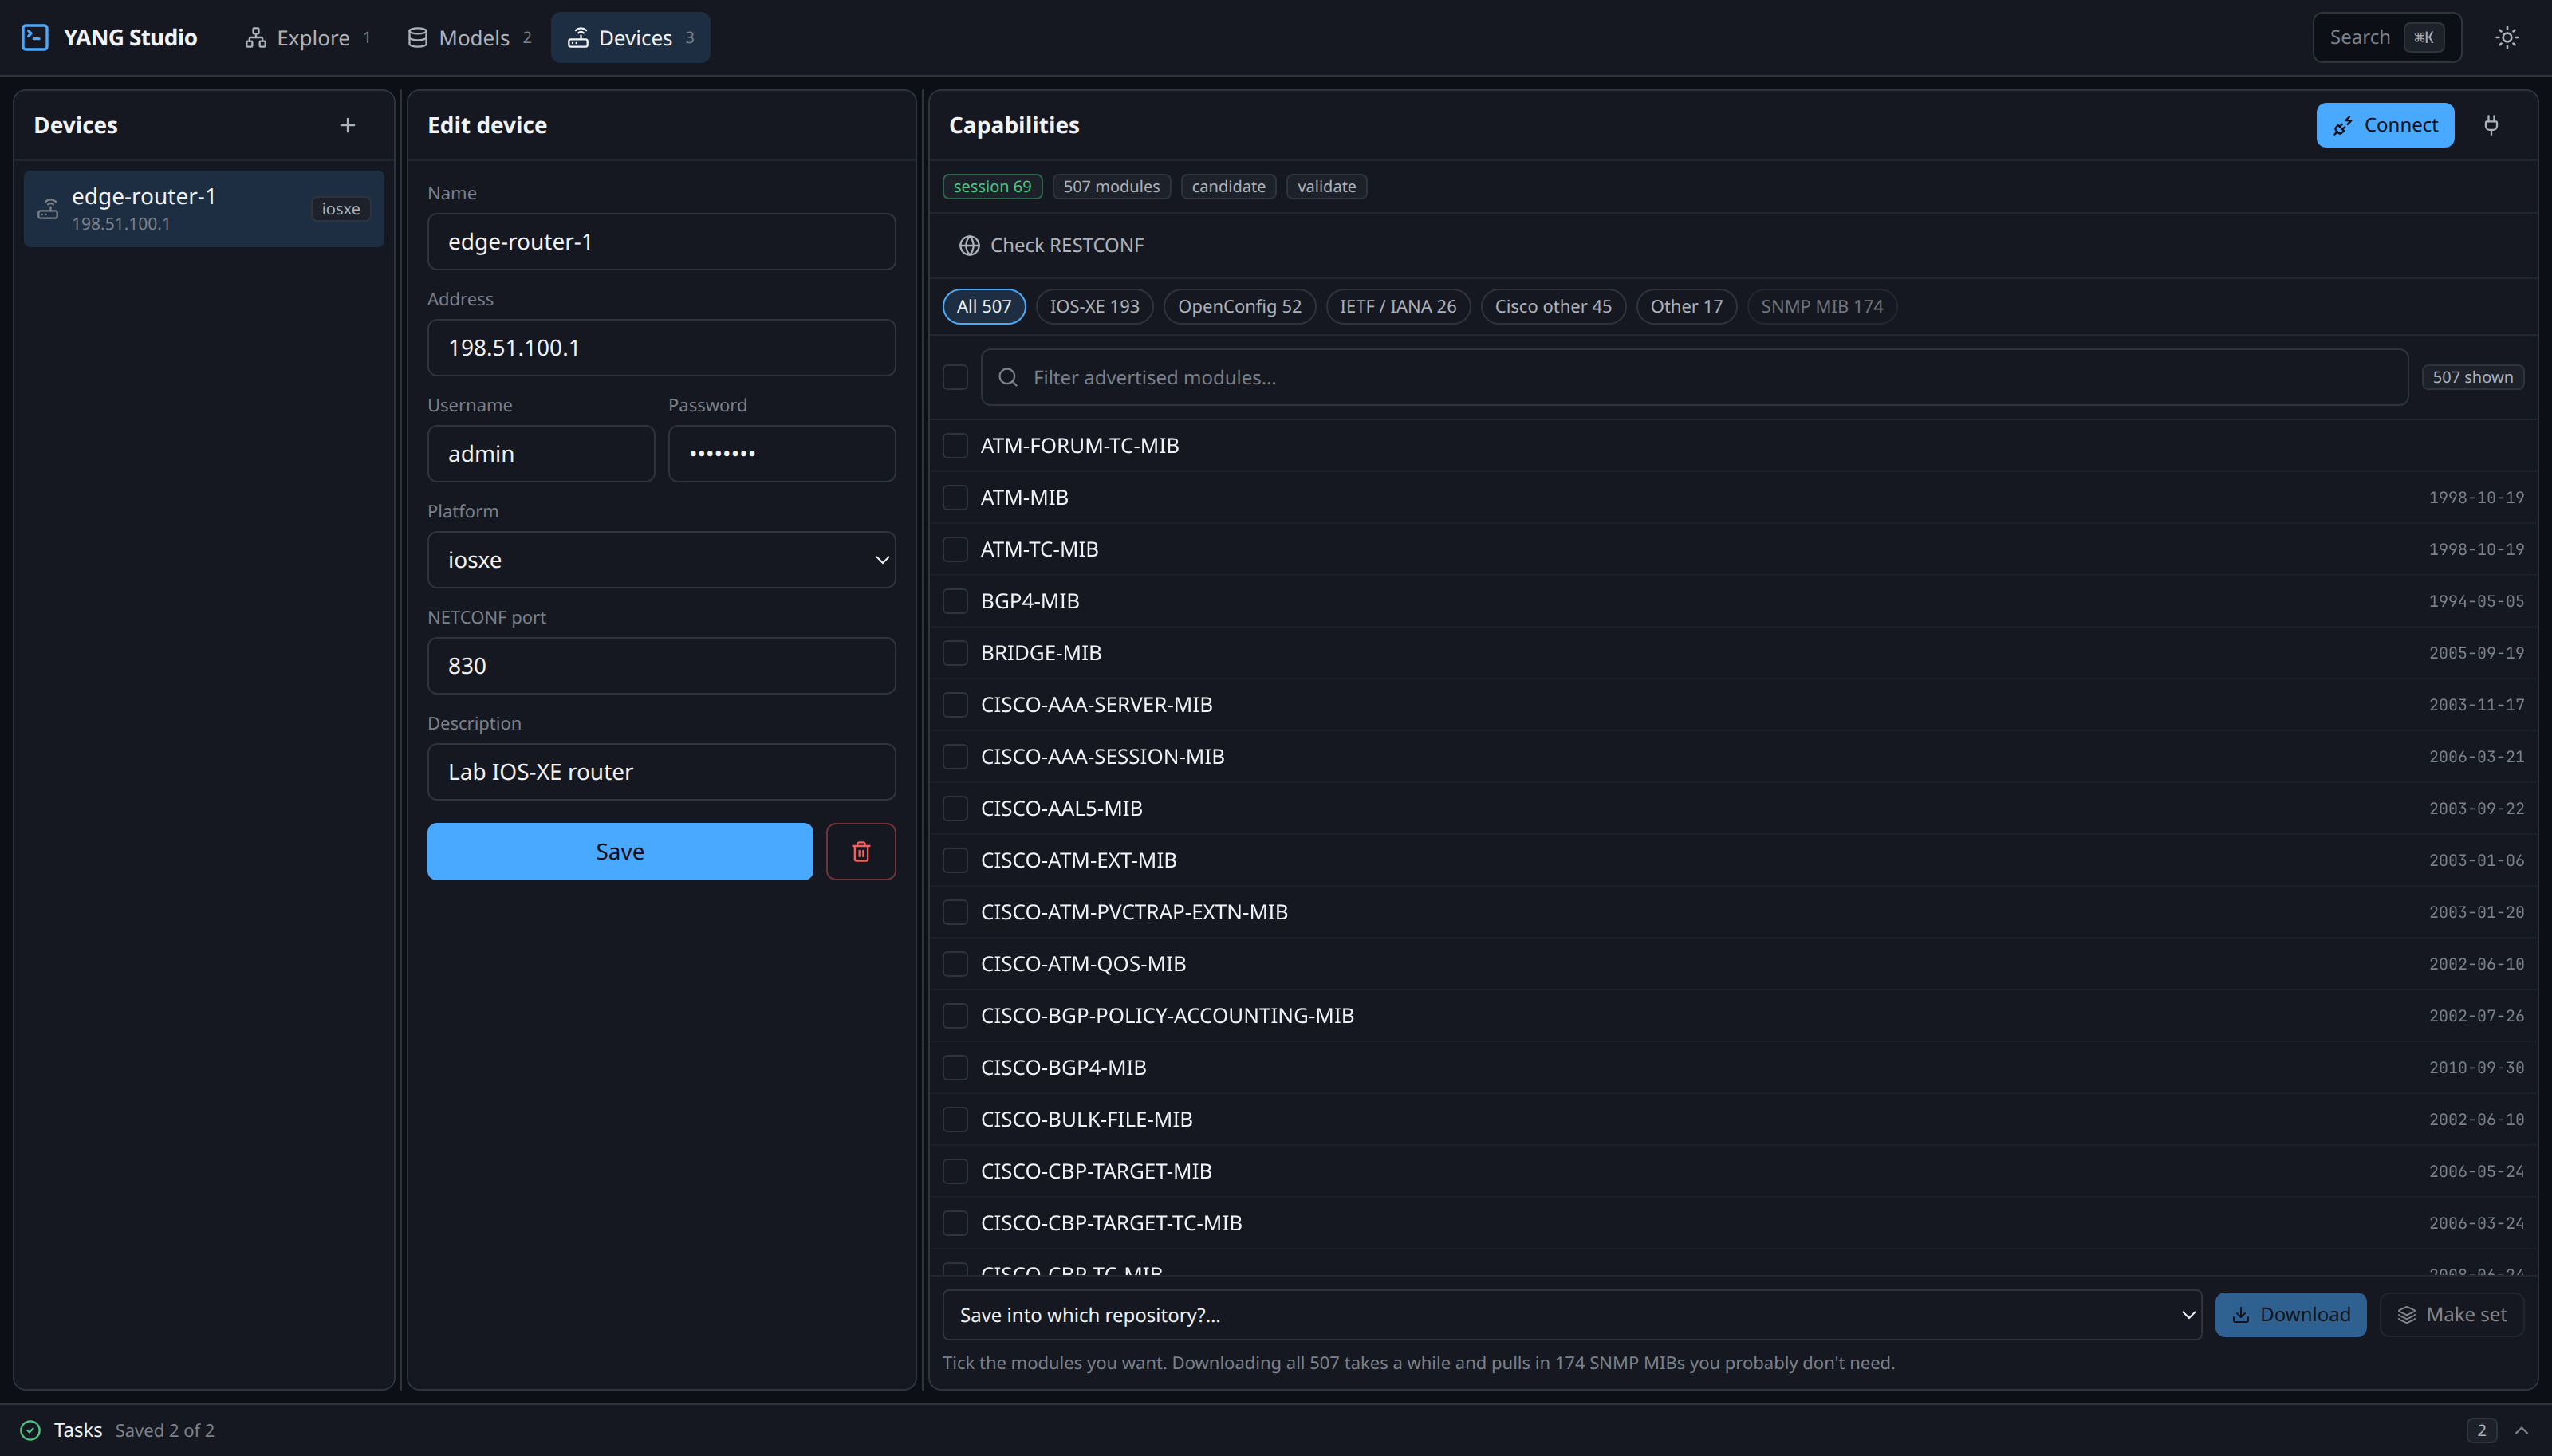
Go to Devices and create a profile with the address, username and password for your device, then press Connect. YANG Studio opens a NETCONF session and lists every module the device says it implements. The router in the screenshot below advertises 507 of them.
That list is long, so it is grouped by family. Around a third of it is usually legacy SNMP MIBs that have been translated into YANG, and those are rarely what you are looking for.
Download the schemas you want
When a device advertises a module it is telling you that it implements it, but it has not sent you anything yet. To get the model itself you have to ask for it. Tick the modules you want, choose the repository to save them into (you can create one without leaving the page), and press Download.
You do not have to work out what else a module needs. Each one
that arrives is scanned for its imports, and anything missing is
added to the queue and fetched too, the same way a package manager
resolves a dependency tree. Asking for ietf-ip on the
device in these examples brings down four modules, because it needs
three others to be usable at all.
Each module is a separate request to the device and takes roughly a second, so the download runs as a background job. You are free to navigate away or reload the page while it works — the task bar along the bottom keeps track of it, and the total climbs as dependencies are discovered.
Group the modules into a set
A repository is simply the collection of files you have downloaded. A set is a named group of modules that can be parsed together into a single tree, and the set is what you actually explore. When a download finishes, the task bar offers to build one from exactly the modules it just fetched.
Because the download already pulled in everything the modules import, the set will usually parse the moment it is created. If something is still missing — a module the device names but will not serve, for instance — YANG Studio tells you which one and offers to fetch it.
Explore the set
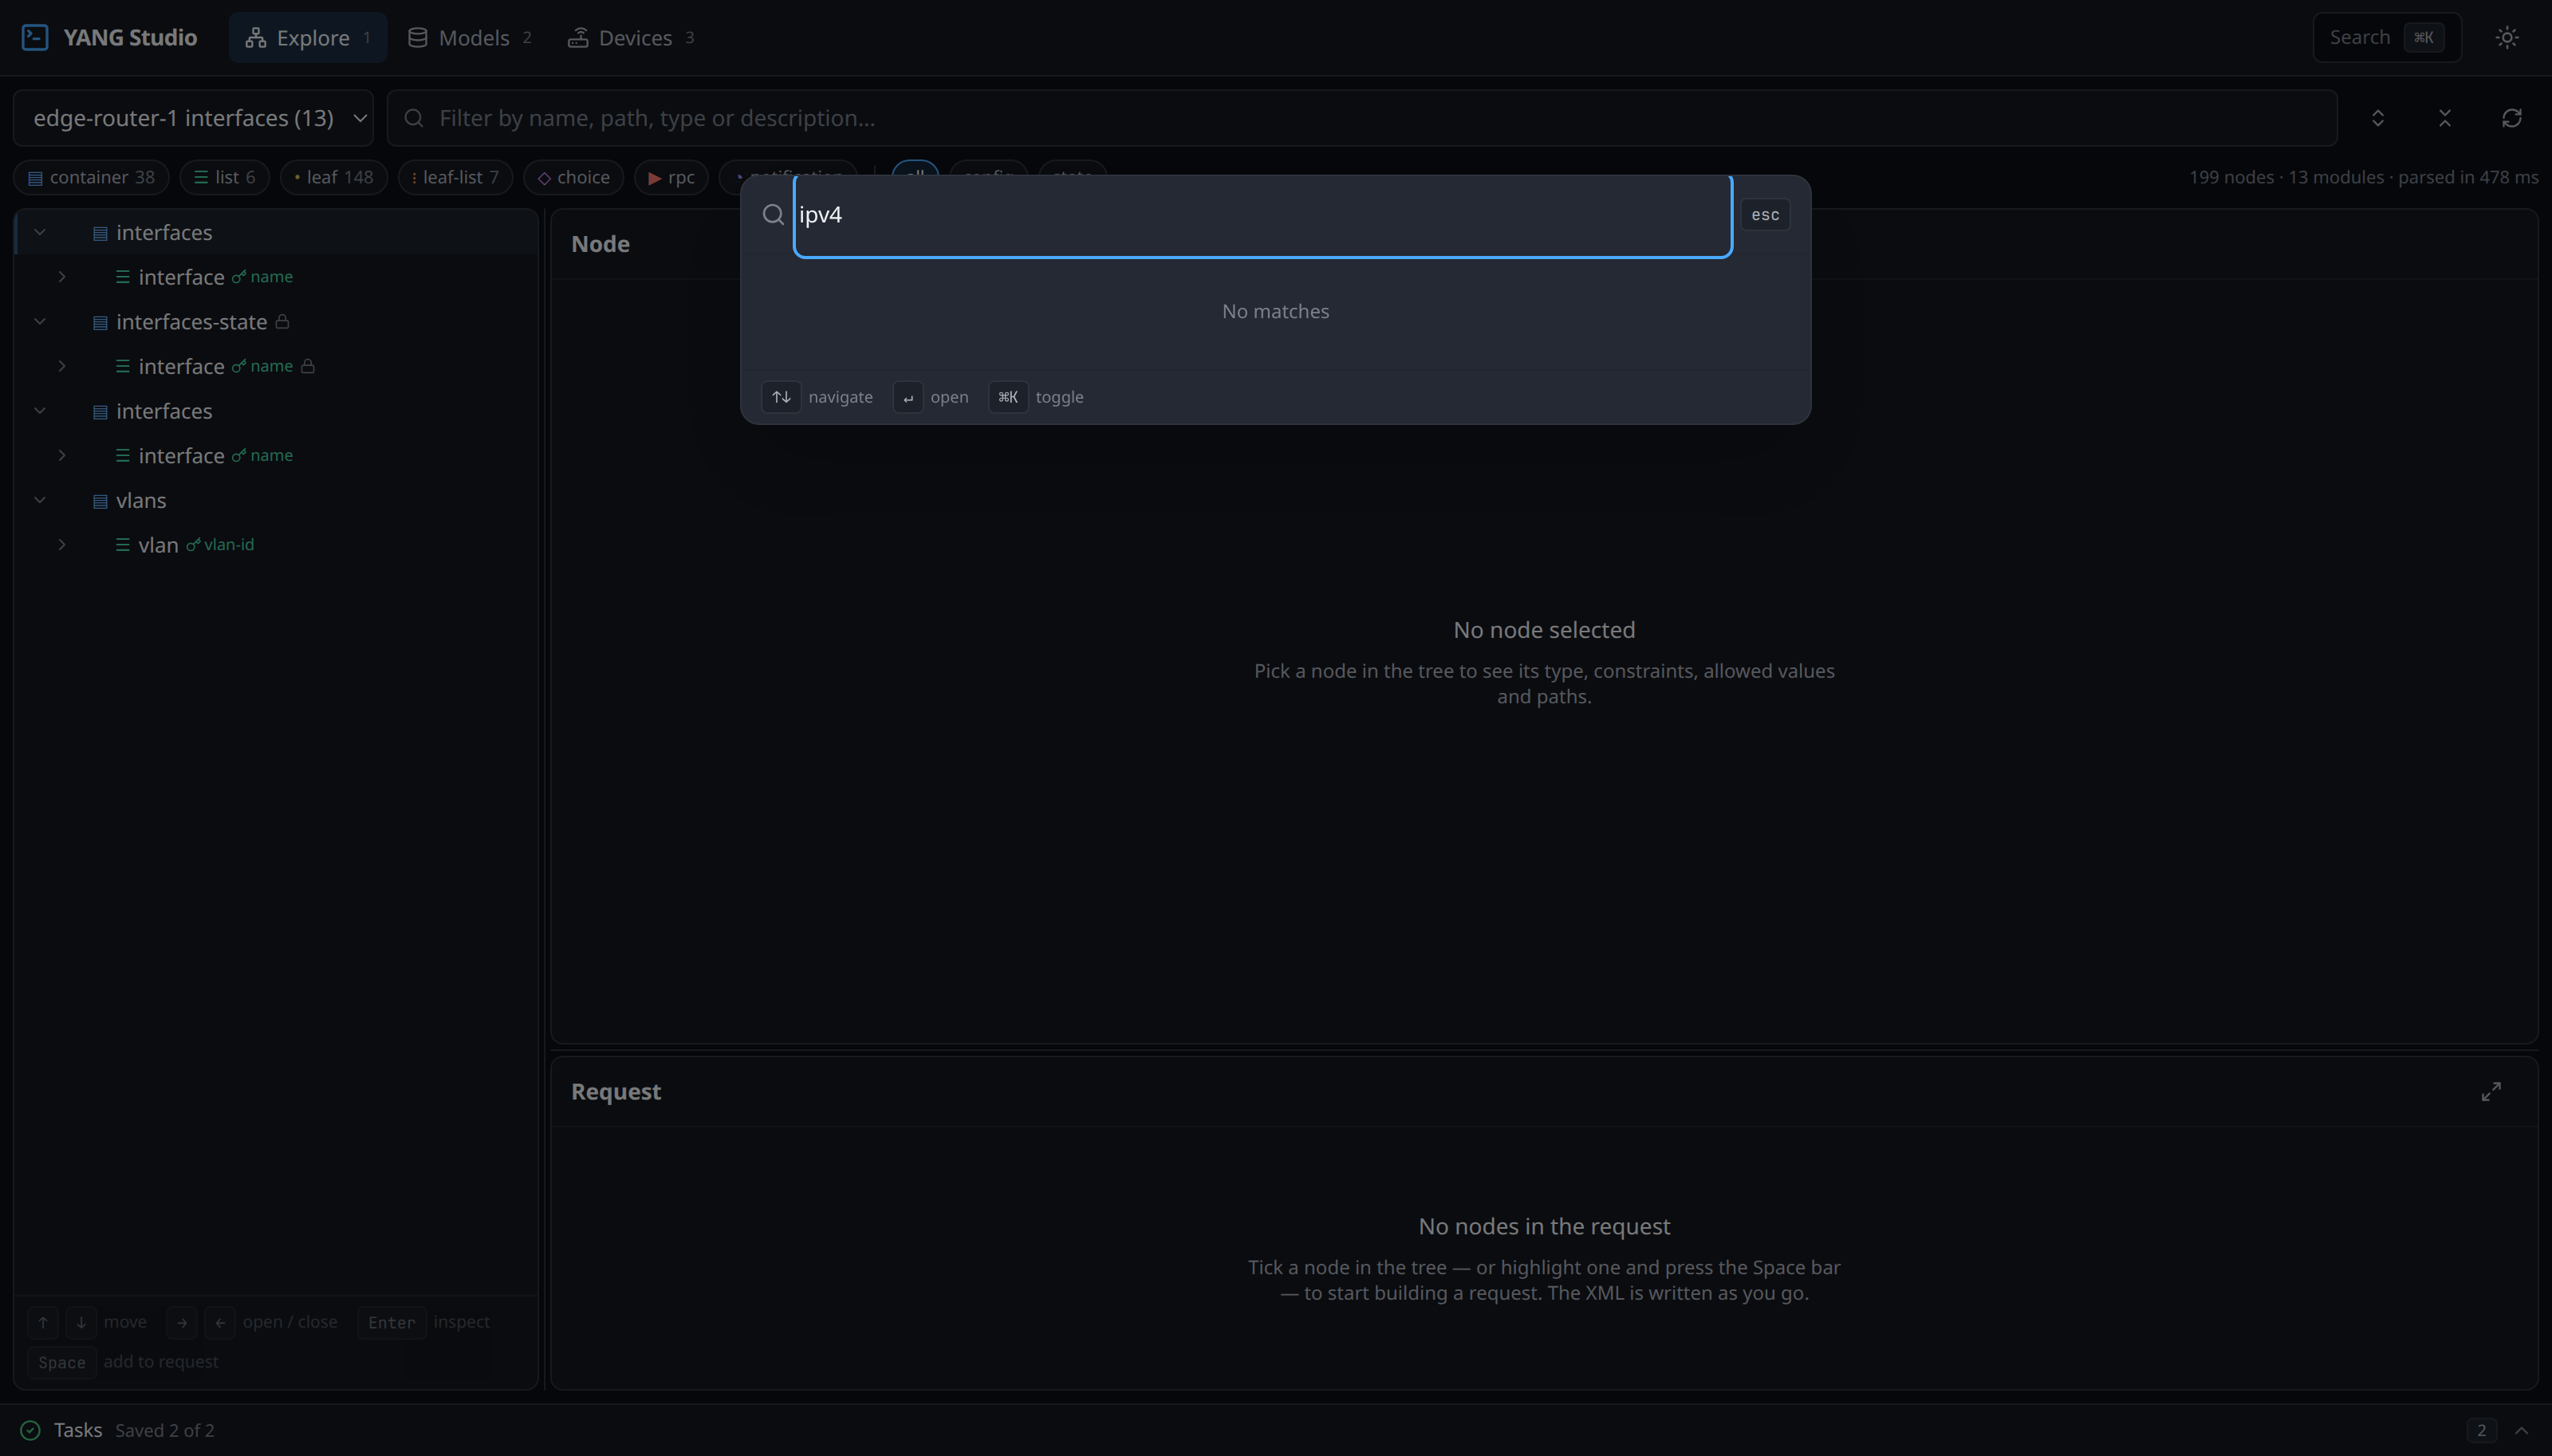
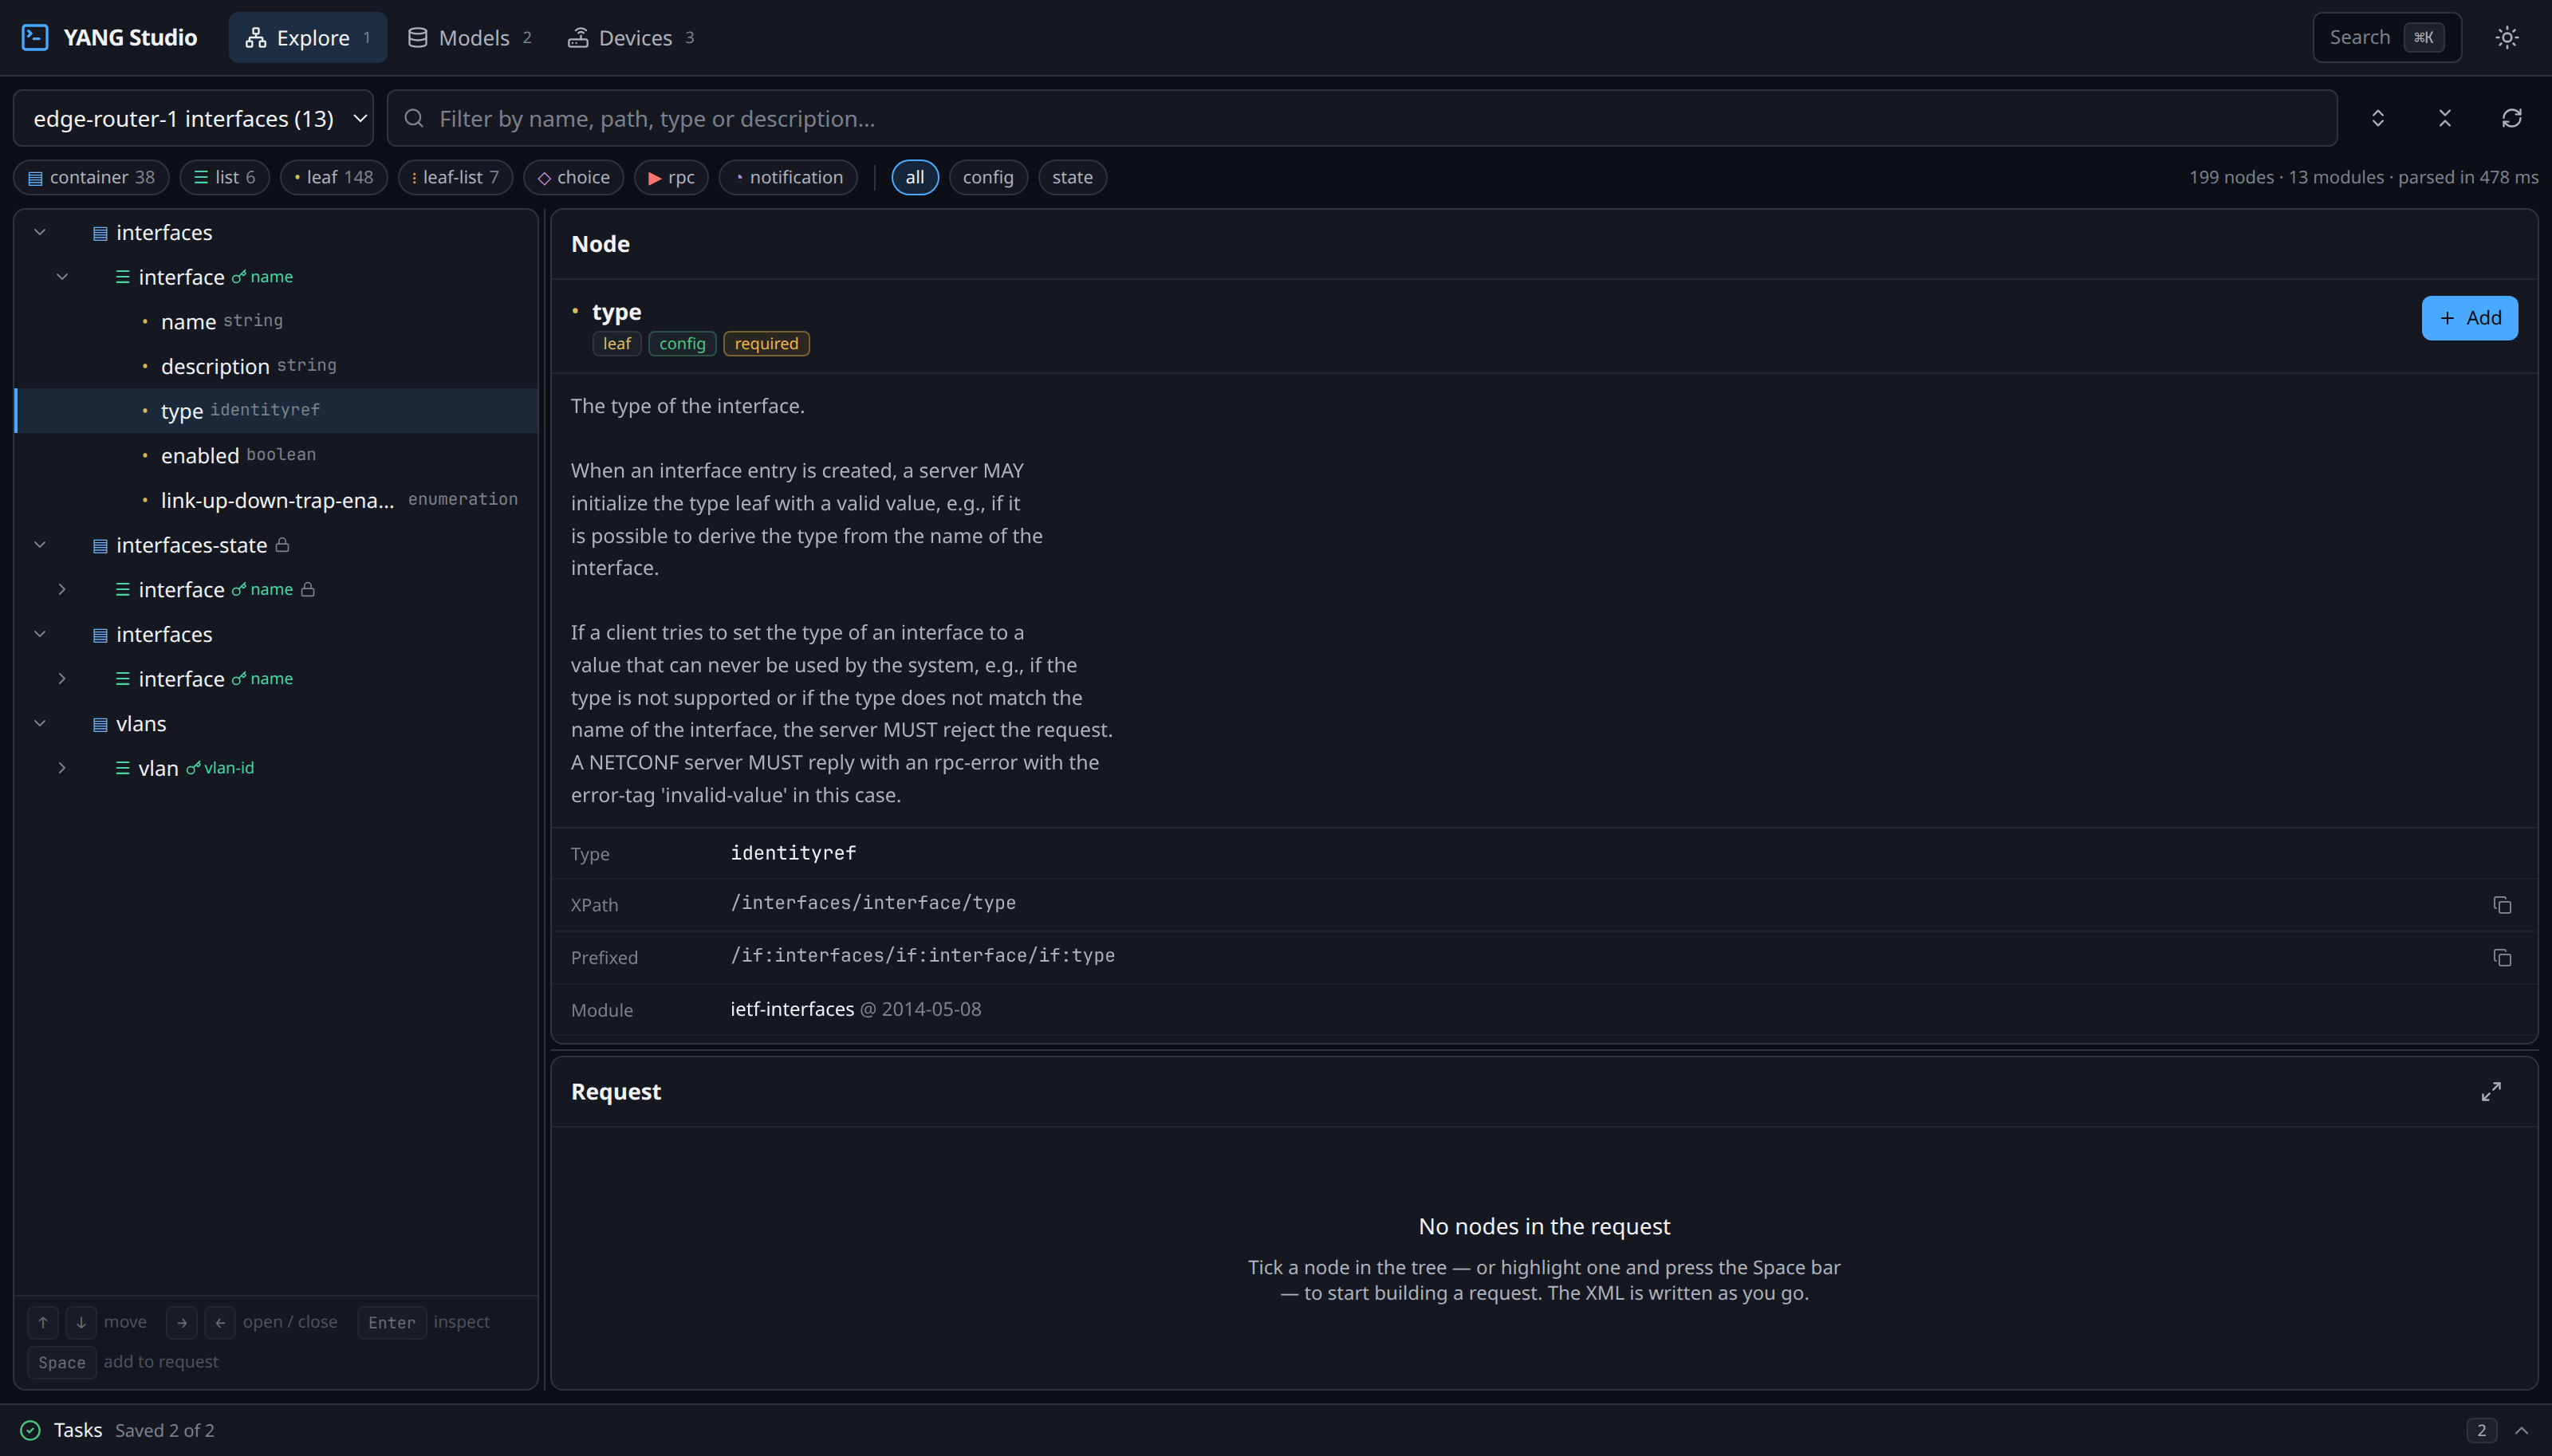
Choose your set on the Explore page and the tree appears. Click on any node to see everything the model says about it. The filter box searches names, paths, types and descriptions at once, and anything that matches keeps its parent nodes visible so you can tell where in the model it lives.
Build a request and send it
Tick the nodes you are interested in, or highlight one and press Space. The request is written for you as you go. Choose whether to send it over NETCONF or RESTCONF, pick the device, and press Run.
Keyboard
| Key | Does |
|---|---|
⌘K / Ctrl-K | Command palette — actions and every loaded node |
1 2 3 | Switch page |
↑ ↓ | Move through the tree |
→ ← | Expand, collapse, or jump to the parent |
Enter | Inspect the highlighted node |
Space | Add or remove it from the request |
The tree shortcuts only work while the tree itself has keyboard focus. Click anywhere in it once and the legend along the bottom lights up to show that the keys are live.